How To Carry Tripod On A Bike?
The role of the tripod in photography is absolutely essential. From capturing the beauty of nature to capturing the wonder of the night sky, tripods are necessary for many reasons.
For avid cyclists and photographers, using a tripod can greatly enhance the quality of your images while also providing precise control over camera movement. Techniques such as steady telephoto shooting and fluid panning are just a few examples of the many benefits a tripod can offer in the realm of image capture.
When using a tripod as a photographer, the possibilities are endless. Whether you are a professional or an enthusiast, the ability to creatively capture your subject is heightened when utilizing a tripod.
For professional photographers who prefer to travel by bicycle, the proper method of carrying a tripod is of utmost importance. There are several factors to consider, and the chosen method should be one that ensures the safety and security of your tripod at all times
As an Amazon Associate, I earn from qualifying purchases made through links in this post at no extra cost to you.
Contents
How to Transport a Tripod on a Bicycle?

When you are carrying a camera on your bicycle, there are too many risks involved. With an additional tripod to transfer, the risks involved might just double.
Whether you have a camera to carry with you or just a tripod you’d want to take with you, here are a few great ways to carry your tripod on a bike.
On The Rear Bike Rack
Topeak Explorer RackCHECK CURRENT PRICE
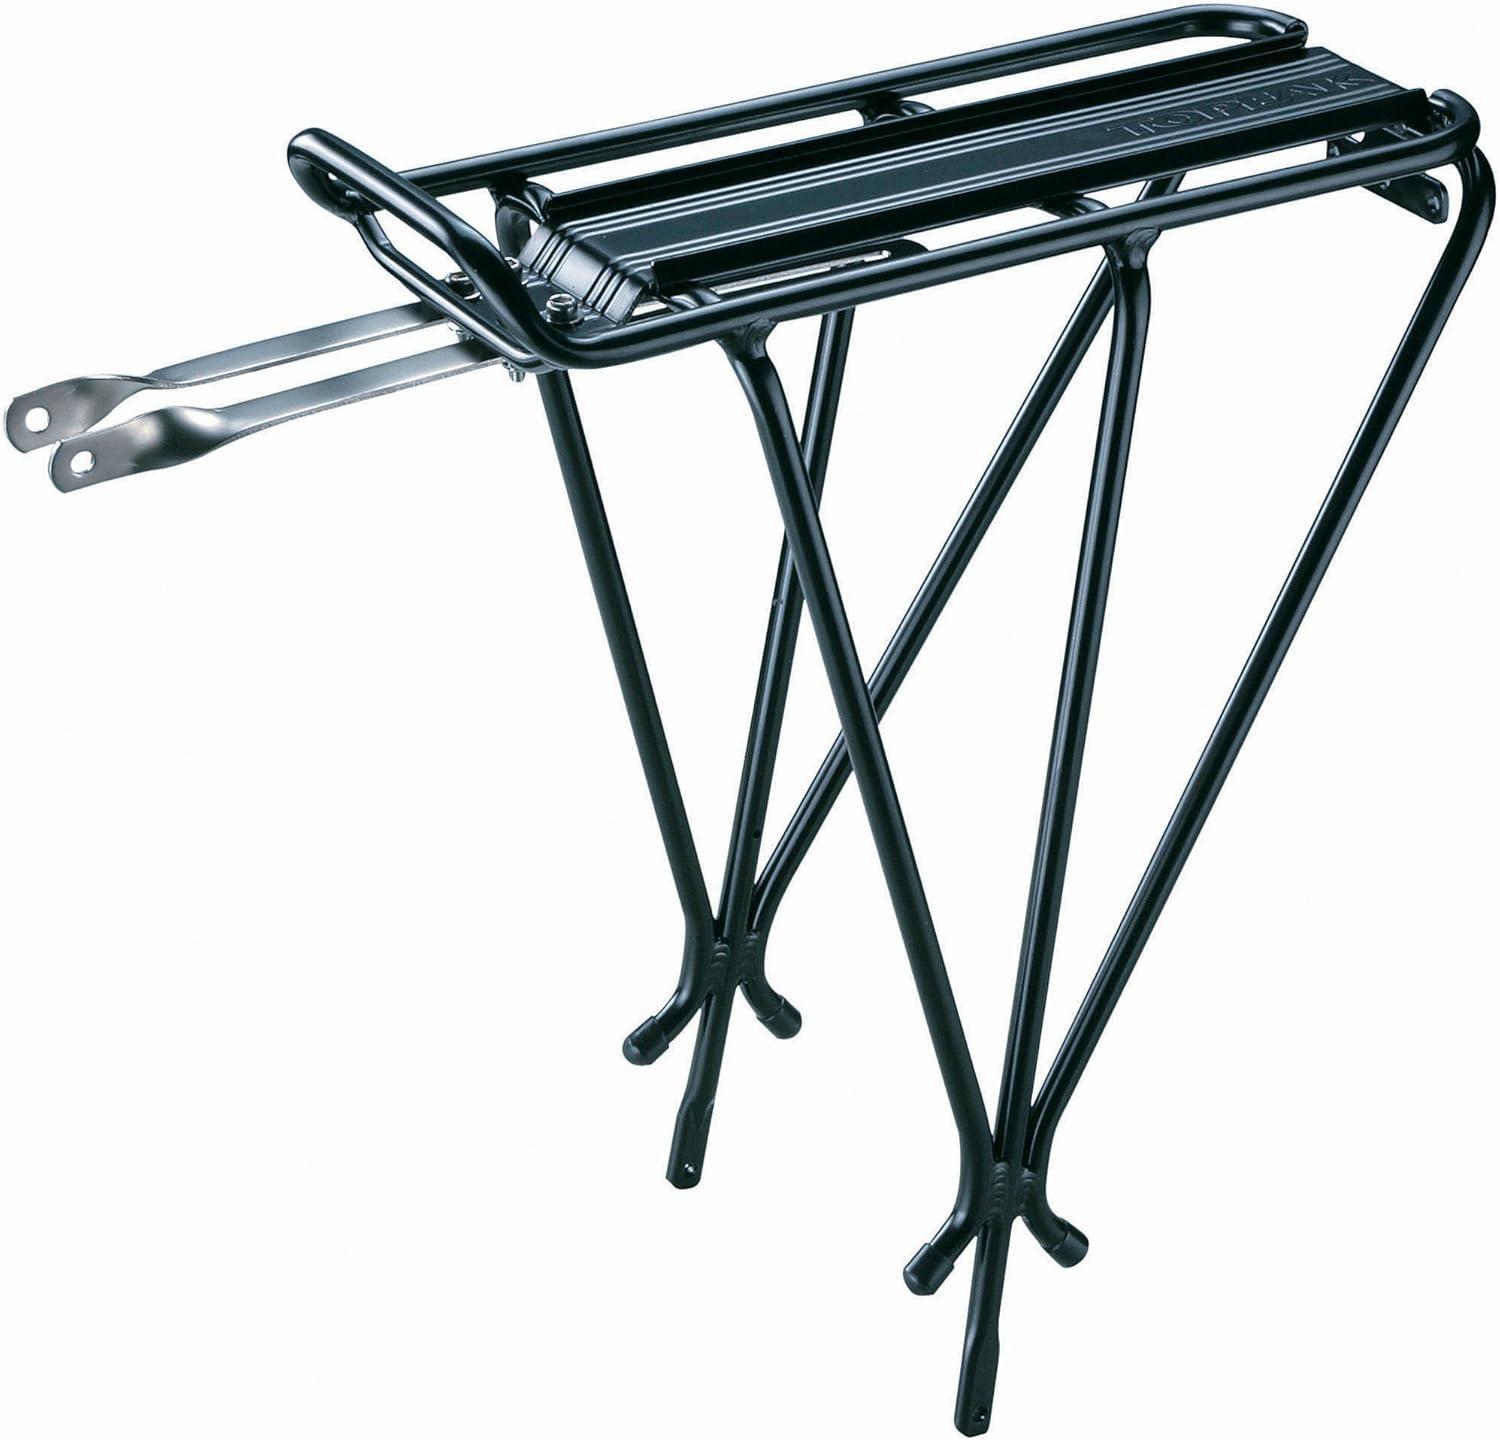
In the cycling community, whenever there is a conversation about carrying things on the bike, the first and most preferred way is often using a rear rack. Most bicycles come with a solid rack, created to be a stern bedrock for hauling and carting just about anything. It’s not so different when it comes to carrying a tripod on a bike.
Bike rear racks are easy to install. Besides having incredible capacity, and a somewhat reasonable price, the window structure of racks is what makes it ideal to carry a tripod.
If you wish to attach the tripod to the rack, one option is to tie the tripod stick to the rack, while you have the tripod positioned in a way that the head of it is under the seat. What this does, it makes sure there is minimal interference on your pedaling. One of the biggest problems that cyclists face while trying to carry a tripod with the rear rack is positioning and keeping it out of the legs or triangle frame.
While zip ties work fine, we love the use of bungee cords to tie down the tripod most securely. Heavy duty zip ties with 6/6 nylon material and an integrated locking system are also great for tying down the tripod. Another way of lashing the tripod to the rack uses straps with adjustable, as well as lockable mechanisms.
Some cyclists who think that simply tying down the tripod on the bare rack might be too flimsy, first add a bag, luggage, or even a milk crate on top of the rear rack. If a bag is attached, the tripod can go under the bag and you can strap it to the rack window afterward. Attaching it to the milkcrate is another creative idea.
Whatever you use, a suitable bike rack such as Toppeak’s easy install, explorer rack is one we recommend for both experts and beginners alike.
If you have a pannier mounted on your rack, you can also slide the tripod in on the sides, securing it further with a few extra cords.
Attach it to Bike Fork
Before you think your tripod is too long for your bicycles stem, and that we’re crazy for suggesting you attach anything longer than a bottle to the bike stem fork of your bike, you might want to know that we have something else in mind.
If you haven’t noticed already, there is a stem that makes up the space between the handlebar and the bicycle’s fork. Because these are usually shorter for attaching just anything, what you can do is get a stem extender before affixing the tripod to the fork.
The issue with this method is that your tripod might slip off from that slippery surface and would need a good clasp from the cords or straps to make sure accidents can be avoided on the way. Hence if your bike’s fork is smaller and has shock absorbers, you wouldn’t want to carry your tripod affixed to the bike fork.
If you are attaching the tripod to the front fork, that issue could be taken care of if you should vertically position the tripod to keep the gadget from contacting your legs.
Cyclists who are particularly concerned about the state of their tripod, often put a PVC cover on the tripod as they mount them on the bike fork.
Get a Camera Bag
G-FAVOR 40L Travel BackpackCHECK CURRENT PRICE

Have you thought of carrying a tripod in a camera bag while you pedal your heart out? We think it’s a splendid idea and one that frees your rear rack, as some cyclists would want so. If you are someone who is uncomfortable with having a tripod sticking out of your rear rack or bike fork, a rucksack might be your best friend.
On first notes, you may want to remember. It is also worth noting that only taller and narrower backpacks, as opposed to more roomy ones would be better carriers for your tripod.
The rugged backpack features, pockets, straps, and compartments that are designed to carry the heavier or taller load. With additional waist and body belts, you can be sure the bag and the tripod are equally secured.
The tall interior space would mean that most of the tripod slide into the bag, with just a bit, protruding out, making it much safer when on the road. Chances of abrasions, collisions, and scratches on other people aren’t much of a worry in that case.
Nevertheless, what’s stopping cyclists from making rucksacks an obvious choice for carrying a tripod while riding is the discomfort is caused. Because it is already a bulky bag, you should be burdened and your back, be quite sweaty.
Bike Trailer
There’s nothing a trailer cannot carry when it comes to transporting anything on your bicycle. Flowers, boxes, pizza, pups, or kids, your most reliable option to have it cart to place are any sizeable trailer.
Towing trailers come in all sizes and many types. The biggest advantage trailers have over rucksacks or rear rack strapping is how it keeps the bicycle itself light and free. You would not have to worry about the tripod sticking out, nor do you have to worry about the gear slipping off.
With quick release attachment systems, you can snap the trailer out of your bike and store it away. Trailers also have buckled straps and additional meshed or weatherproof cover. This means cyclists can carry their cameras, lenses, and photography sets in just one space.
This is something cyclists in places of heavy or unpredictable weather would prefer to have. As with other methods, the issue with using a trailer to transport a tripod in a bicycle is how it becomes a challenge to store away a trailer if you don’t have a garage space. A trailer is also a more expensive option to go with.
Switch to Mini Tripod
If you have a tripod that is large enough to not worth any of these methods mentioned above, it’s not bad news just yet.
The smarter way is to switch to a mini tripod. These are petit in size but work well for the most part. You can carry smaller gear like a mini tripod in your pannier’s bags, backpacks, or even handlebar baskets.
With a few rubber straps and a few pinch clips, what you can do is attach the mini tripod with one of the usual backpacks or rucksacks if you wish. We suggest a rubber strap because of its ability to have enough friction so that your tripod is held in place without slip-offs.
You may also use this same method to carry one of the taller tripods, but with that, you’d have to make sure your gear sits higher on the back.
Final Thoughts
Figuring out how to carry a tripod on a bike can be an intimidating task, but it is possible to ensure that your equipment is not damaged while riding.
I prefer using a rear bike rack because it is easy to install and relatively inexpensive. Bungee cords, heavy-duty zippers, and straps with adjustable mechanisms can be used to secure the tripod to the rack. Attaching the tripod to the bike fork or using a camera bag are also options. Bicycle trailers are another great option.
If your equipment is heavy, spend a little extra to ensure the safety of your tripod. Now, you can properly transport a tripod for professional photography by commuting on a bicycle without worry.