How To Install Tailgate Bike Pad? Step-By-Step Tailgate Pad Installation Guide
Since you are here, we are assuming you’ve invested in a bike pad for your pickup truck. Now you might be looking to learn about the right way how to install a tailgate bike pad. If that’s the situation, we’ve got you!
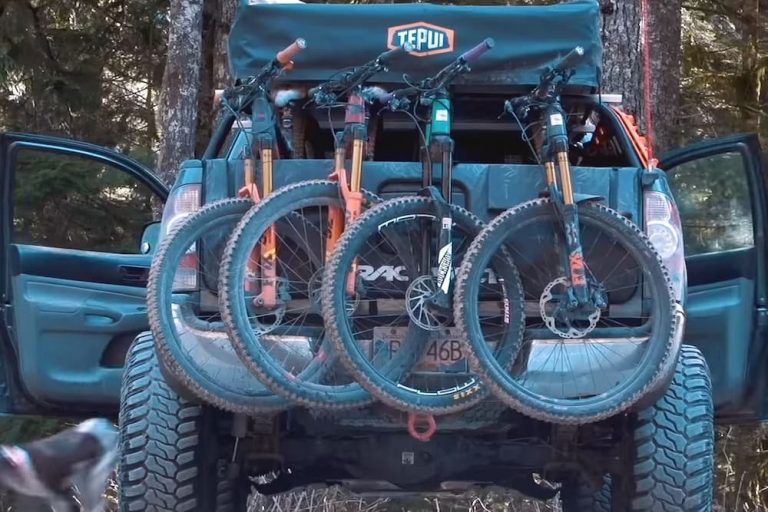
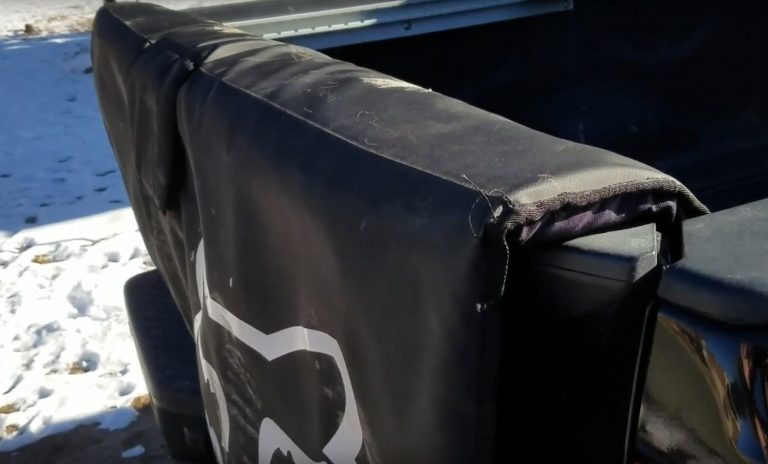
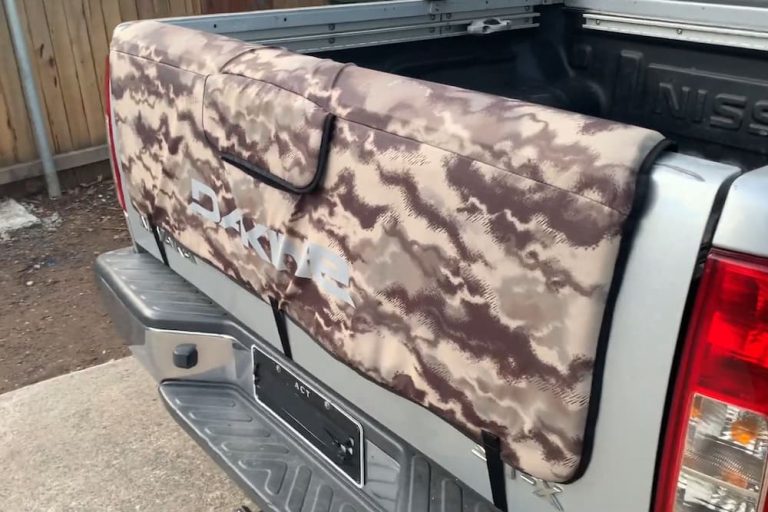
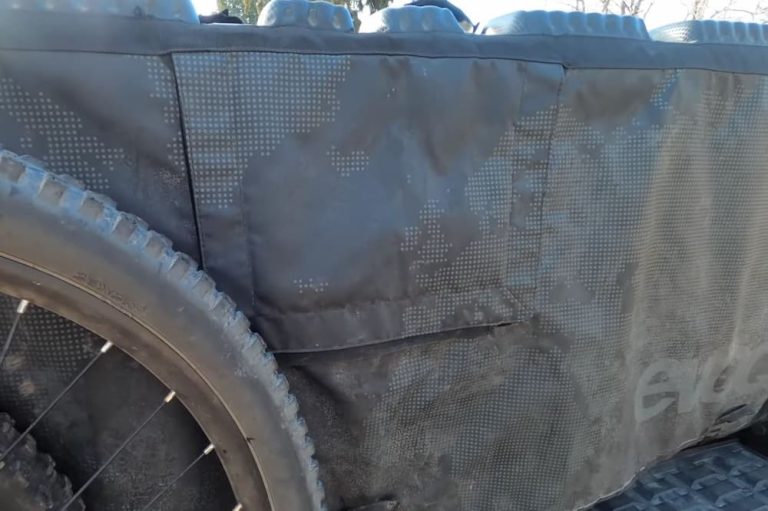
Tailgate pads are a great addition if you like to carry your bikes at the back of your truck. These foam filled pads are laid over the tailgate roofs, with straps on both the bottom and top of the pad. These bike pads hold your bikes securely in place and prevent damage and scratches, both on the tailgate and the bikes.
In this article, we have listed the installation process of tailgate bike pads in 10 easy steps.
Contents
What You’ll Need

Great news! You don’t need any additional tools to install a tailgate bike pad, except a pair of hands, of course. All you will need is the tailgate pad that you bought and your truck. If you are installing the pad for the first time, you could use some help, so an optional second pair of hands would be beneficial.
Tailgate Bike Pad Installation Guide
Here are the 10 easy steps on how to install a tailgate bike pad.
Step 1
It is always helpful to start by setting down the pad. You can lay it down on the road, under the sun for some time before wrapping it around your tailgate. This will relax the pad material.
Step 2
Close the tailgate. Position the bike pad on top of the closed tailgate. Adjust the pad so that the panel rests flat on the tailgate while the pad’s lower straps dangle below.
Step 3
Open the tailgate of your vehicle slightly. Through the bottom of the tailgate, slip the hanging center strap inside. Make sure your strap is not flipped or twisted while inserting the strap through the tailgate opening.
For this step, it is best to ask for someone’s assistance. In case you are installing it alone, and using both hands, be extra mindful not to hurt your fingers as you slip them in. This is a vital step in learning how to install tailgate bike pad.
Step 4
Bring the strap all the way to the top of the tailgate and loosely connect the strap to the buckle. To fasten the strap to its hook, insert the strap through the back of the buckle and slide it out from the front. This will create the bridging loop.
Connect the center strap with its buckle first. Then do the same for the lower straps on each side. Don’t tighten the strap in this step.
Step 5
Once the center strap is connected, close the tailgate. Join the upper straps with their corresponding buckles and secure them.
Step 6
Now that the bike pad is sitting on the tailgate check for further adjustments:
- Press and fold any extra pad fabric that may be tucked out.
- Make sure the spacer area of the bike is perfectly placed on the tailgate top.
Step 7
With most tailgate covers, there is an elastic belt at the top center of the pad. Use this to hitch the center strap by inserting and rolling it through the belt.
Step 8
Tighten and secure all the straps. Check the lower straps again. Adjust the pad by rotating it or pulling it in the direction needed. Make sure the bike pad sits securely on the tailgate.
Step 9
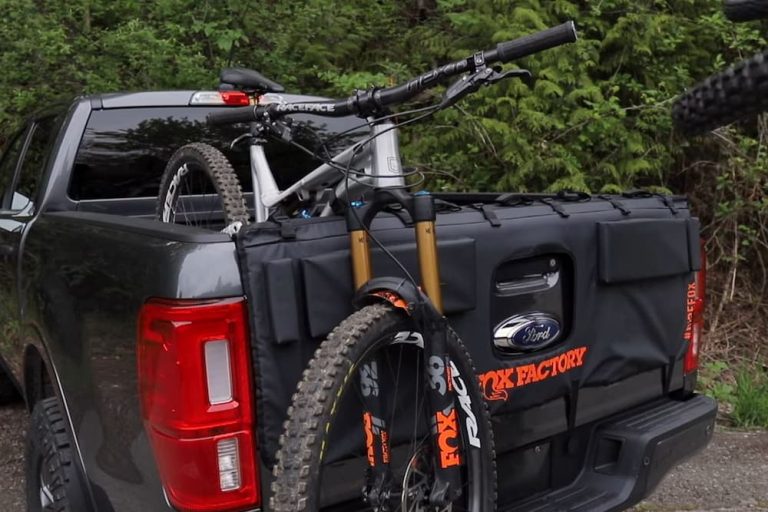
Load the bikes. Place the bikes on the tailgate, starting from the left side first.
Make sure your bike’s brake disc is front-facing, and the wheel is tilted to a position. Position the bicycles, so the back wheels touch the bed of the truck.
Step 10
Finally, secure the bikes by hooking the down tube straps. And you are ready to go!
Additional Tips
- Do not tighten the straps too much. Over-tightening them can result in the straps tearing apart fairly quickly. Leave some room, so those rough movements on the road do not taut the strap too much.
- If you know how to install the tailgate bike pad properly, cramming a few extra bikes is no issue and won’t damage the pad.
- To prevent scratches on your frame, use pool noodles cut in half. Slide the pool noodle into the bike frame. The foam sits on the pad preventing your bike from getting scraped up.
- For more security for the bikes sitting on your tailgate pad, buy padlocks and heavy-duty chains. If you use chains, use bike tubes to create a covering of the chain. You can also get insulated cables. Lock the chains into the padlock. This ensures more surveillance for the tailgate pad and the bikes.
Frequently Asked Questions
After installing the tailgate pad, how do I make sure that my tailgate cover does not get stolen when not in use?
We have done the research and published an article about different ways to prevent the tailgate pad theft.
How do I install my Fox / Raceface / Dakine / Evoc tailgate pad?
Follow the instructions above to install any tailgate pad, including those from Fox, Raceface, Dakine, and Evoc.
Conclusion
Many cyclists prefer tailgate pads over pickup truck bike racks for securing their bikes at the back of their pickup trucks. It’s so much more comfortable to just shuttle your bike on the tailgate every time you park your truck or stop to run an errand.
The foam-filled pads are usually relatively inexpensive, easy to use, and work great when you have multiple bikes to pack on. The most satisfying part? It’s a breeze to install one. The straps make sure your pad does not move along with your bicycle.
The heart of the installation process is uncomplicated. Just wrap the straps around the tailgate of your truck and tighten them! To make it easier for you, we have presented 10 steps on how to install the tailgate bike pad, and we have made sure all the steps are straightforward and clear to understand.