How To Carry Skis On A Bike?
Skiing and cycling, these two activities are a few of the most enjoyable physical activities that you can do with your friends or all by yourself.
But what if you could do both of them simultaneously? What if you can go to the ski resort on your bicycle for your next skiing adventure?
If these are the questions that pop into your head, then you are in luck. Because in this article, we will break down everything that you need in order to carry your skis on a bicycle so that the next time go on a skiing trip, you can bring your bike along for the ride.
Contents
How To Carry Skis on a Bicycle?
There are a few methods that you can use to carry your skis on a cycle. But some of them include the risk of facing dangerous accidents. And we all want to avoid that.
So, keeping that in mind, here are the best methods that you can use to transport your skis on your bicycle.
Strapping Your Skis To Your Bike’s Frame
This is the most common and most used method when it comes to transporting long and narrow objects like skis or hockey sticks on a bike.
The idea is simple, and you attach your skis on either the left or the right side of your bicycle frame. But the process is a little difficult as you need to properly adjust them. Otherwise, your skis or your bike’s body can get damaged.
Before starting, there are a few things that you will need to attach your skis to your bicycle properly, and these are:
- Ski straps (at least 3)
- A rack (optional)
- A pannier bag (optional)
- Rags (optional)
How to Transport Skis on Tour Cycle?
At first, start by creating loops with your ski straps because they are going to hold your skis with your bike. Make sure that one of the loops goes under the saddle or seat of the bike. Also, ensure that one of the ski loops is the front of the handle or the front tube.
Now that the loops are in place, put your skis through them and tighten the loop. Make sure to strap the tips to the bottom and the top side of the tube of the bicycle.
Make sure that the tips of your skis don’t reach the fork crown of your bicycle. Otherwise, there will be a lot of scratches on your bike and skis.
Now, you can use this method and transport your skis. But if you want to be extra cautious (which we support) can add these optional adjustments.
First, use more ski straps to secure the positioning of the skis on your bicycle. The rack can come in handy for ensuring and maintaining the placement of the skis.
To make life easier, you can add the pannier bag to store all the other necessary equipment and dresses. This will also work to support the skis as they can hold the skis if anything goes south.
And if you are afraid of scratching and damaging your bicycle or your skis, you can use the cloths to wrap up the skis before attaching them. Using used trousers or spare blankets can also help. But make sure to secure the wrapping before you start to attach the skis to your bicycle.
Building A DIY Bicycle Ski Rack
Now, if you don’t want to attach the skis directly to your bicycle and look for a more DIY solution, then this is the perfect method for you.
In this case, you need to make a ski rack for your bicycle, which will hold the skis for you.
For this method, you will need:
- A rear rack bicycle (you can also attach a rear rack to your bicycle)
- 18 inches long and 4.5 inches (minimum) wide PVC plumbing pipe
- 3-4 metal plumbing ties
- 3-4 Velcro straps
- A pannier bag
Here, the PVC plumbing pipe will act as the primary carrier for your skis. First, mount the tube on one of the sides of your rear rack. Use the metal plumbing ties to fasten the pipe properly in your desired location. In most cases, it is on the right side.
And this part is very important because you need to place it in a way so that the skis don’t fall off or bump into you during your journey. Now, a good way to check your placement is to give a test drive. So, try out the skis’ placement before finishing the setup.
Now, once your makeshift ski carrier is made, you should work on attaching or putting in the skis properly. For this, use your Velcro straps to attach the skis to the pipe. You shouldn’t make any compromises here. Now once everything is secure, attach your pannier bag so that you can put your skiing gears inside of it. Do a couple of test drives, and you are good to go.
Other Options
Now, there are a few other options that you can try, but they are very difficult and comes with almost a guaranteed chance of having accidents.
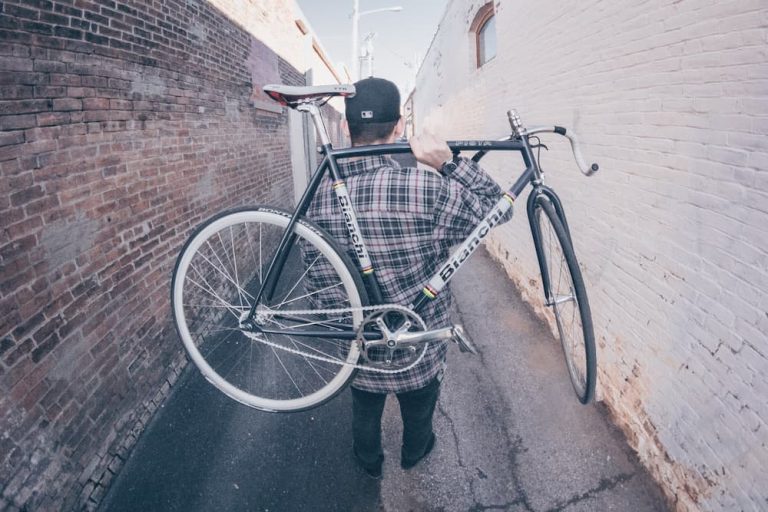
One of them is carrying your skis on your back. This is very dangerous because it will put huge pressure on your back due to the weight of the skis. Meaning balancing the bicycle will be very hard. This almost always turns into a disaster, so don’t try it for your own safety.
Final Thoughts
Skiing and biking are two activities that can be combined for an enjoyable experience.
I recommend strapping your skis to the frame of your bike as the easiest way to carry skis on a bike. It requires some adjustment and additional equipment but is very convenient.
Also, do not put skis on your back as it can be very dangerous and difficult to balance the bike. To prevent accidents, it is important to properly secure your skis before you set off.
Now, hit the slopes and have fun riding your bike!