
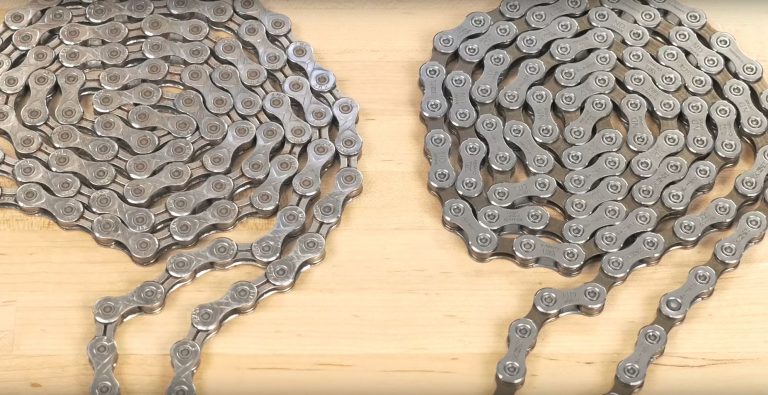
How To Shorten A Bike Chain?
Contents
Why Do Chains Need to be Shortened?
Chains need to be shortened due to many reasons. One of the most important reasons for shortening the chain is the wear. If the wear of the chain is broken, then your chain needs to be changed or shortened. In most cases, you need to check where the chain is broken due to stretching out, then shorten the chain to a proper length by excluding the broken part.
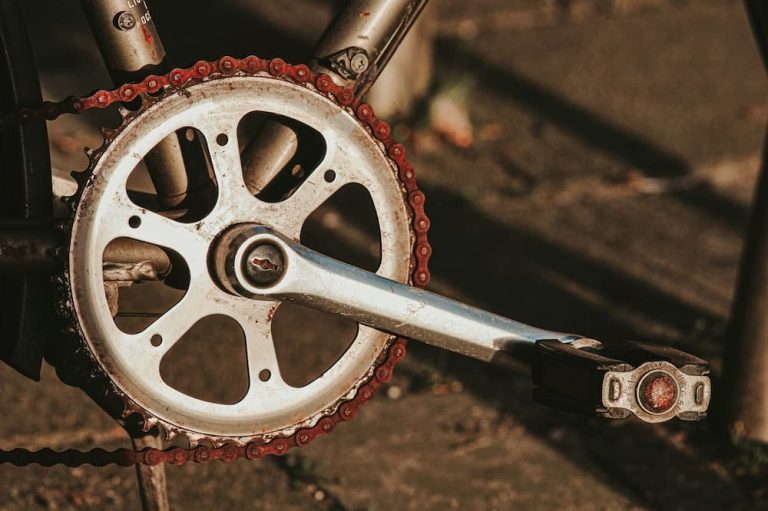
Another important reason behind shortening the chain is the size of the chainring. If your chainring is smaller than the length of the bike’s chain, then the chain will fall off more often and create problems for you. That’s why you need to shorten the chain based on the size of the chainring.
I have faced these issues more often, and to get the solution easily, I have tried some methods. Now, let’s learn about the methods of shortening the bicycle chain.
Related reading: Bike Chain Size Guide And Chart
How to Shorten a Bike Chain with a Chain Tool?
Using a chain tool, you can easily shorten the bike chain. Let’s discuss how.
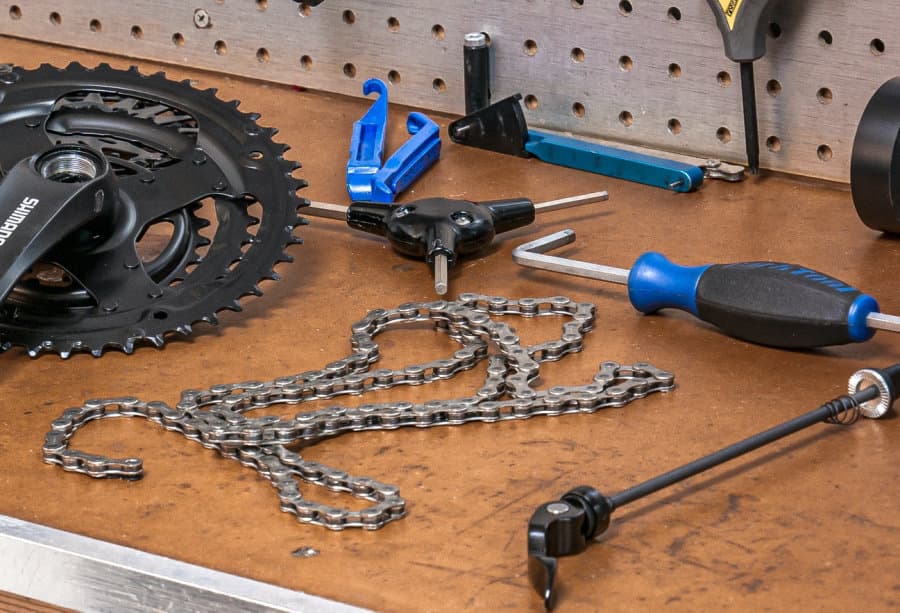
1. Removing the Chain
This is the first step of shortening the chain. First, you have to remove the chain from the bicycle. After removing it, you have to check whether the chain needs to be replaced or shortened. If the chain has wear issues, then it might need to be replaced.
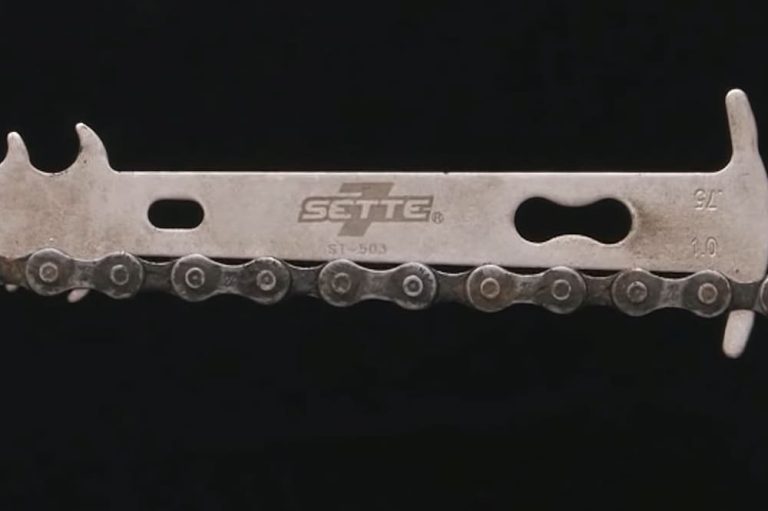
To check this, you have to count the links by using a scale.
The second step will be buying a chain tool if you have none. You have to buy the chain tool depending on the model of your bicycle.
You have to use a stand to remove the chain easily from the cycle without any problem. You have to clean the chain if it is dirty, and this will help you to remove the chain easily.
Now, you will find the master link of your chain. Every chain doesn’t have a master link, and if there is no master link, you have to use the chain tool to remove the chain from your bicycle.
2. Shortening the Chain
After removing the chain, you must decide how many links you should remove to shorten the chain. It is better to remove a few links rather than remove many links and then add them again.
To remove the links from the chain, you have to use your tool. If you haven’t done it earlier, you may find it difficult to remove the links.
To remove the link, you have to connect the link with a tool to get the link removed. You must press the pin sensitively to push the pin way out of the link.
After removing the first link, you have to do the same things for removing the other links. Then, the chain will be shortened suffciently.
3. Reconstructing the Chain
After shortening the chain, you have to reconstruct your chain. The first step to do so will be placing both ends of the chain to the master link. If your chain doesn’t have the master link, you must use another link to connect. You have to make sure that the pins are connected, and by doing this, you will hear a click when the links are attached.
At times, you may have to reposition the pin if it is necessary.
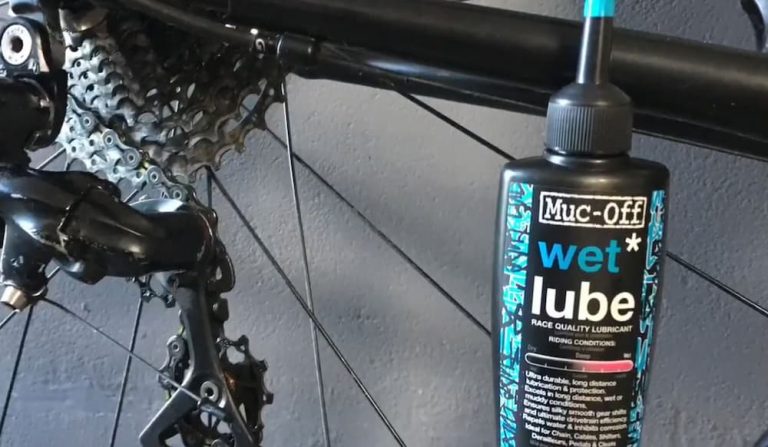
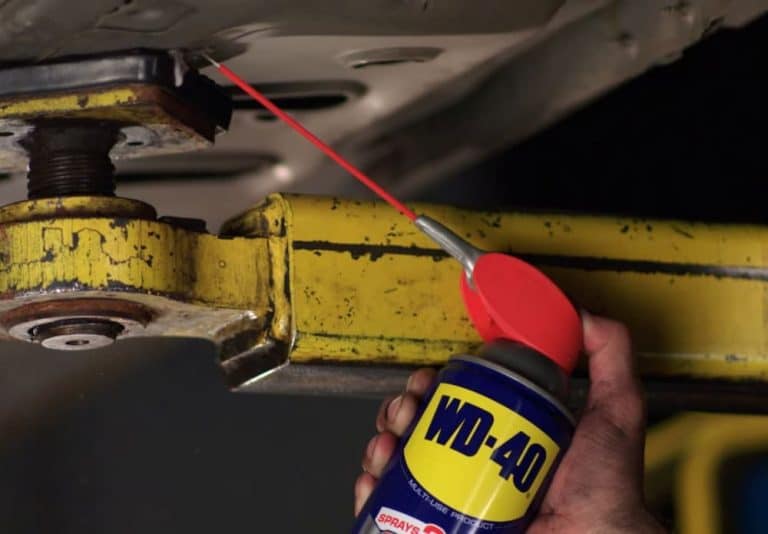
At last, you have to use a good quality lubricant to make the chain work more smoothly.
How to Shorten a Bicycle Chain without a Chain Tool?
It is not necessary to have a chain tool for shortening the chain. You can follow the same procedure by using other things instead of a chain tool to shorten the chain perfectly.
1. Removing the Chain
Just like before, in this case, also you have to check whether you need to replace the chain or shorten the chain. After checking the condition of the chain, you can easily decide what should be the correct method of fixing your chain issue.
Then, you have to use a scale to measure the links of your chain.
Your bicycle should be standing safely to complete the other necessary steps. You can use the bike stand to keep it stand safely, or you can use a strong wall or something to lean the bike on.
Then you have to clean the chain so that you can see the actual condition of your chain. You should use a good chain cleaner so that you don’t face any problems after cleaning the chain.
Now you have to search for the master link if your chain has any. If you don’t have any master link, you have to break the chain to remove it from the bicycle If your chain has the master link, you can open it and then remove the chain. For breaking the chain, you can use any sharp instrument as you don’t have the chain tool here.
2. Shortening the Chain
Like the earlier method, you also have to decide about removing the number of links from the chain. You can remove fewer links because if you remove more links, you have to reattach some of them, which will cost you time and energy.
As you don’t have the tool here, you have to use three things instead of the tool. The three things are A Hammer, Pliers, and Thin Nail. These three things will help you to remove the links from the chain.
Then, you have to put the chain at a place where you will push the nail with a hammer so that the pin comes out.
By following the same step, you can remove the links, but you have to remember that removing many links might cost you more.
3. Reconstructing the Chain
After removing the links, your chain gets perfectly shortened. Now you will need to connect the chain. To do so, you have to use a screwdriver to connect the chain with the master link. If you don’t have any master link, you can connect with any other link, but you have to make sure that your pin is attached. Thus you will hear a click sound which will make sure the chain is connected.
If the chain gets too tight after shortening it, you can loosen it easily.
The last and the most important part of shortening a bike chain using a good lubricant after fixing the chain. Don’t forget or ignore this part because if you ignore it, then it will damage your whole struggle of shortening the chain. A good lubricant will help the chain give more flexibility and increase the chain’s lifespan.
How to Shorten a Mountain Bike Chain
Mountain bike chains might seem more complicated for you to shorten as they come with some additional units. Fortunately, the MTB chains are not that complex, so you don’t have to go to any bike shop to shorten the chain. You can do the task on your own.
The first thing you have to do is read the manual you are given with the MTB. Almost all the high end bikes have a manual where you will be given all the instructions for removing the links from the chain and thus successfully shortening the chain.
After reading the manual, you will see a similar direction in how to shorten a bicycle chain like other bikes.
One of the suggestions will be if you are going to shorten the chain of your mountain bicycle then use your chain tool to remove the extra links.
So you will basically follow the steps given below:
- Decide whether you should change your chain or shorten it.
- Stand the bicycle strongly.
- Clean the chain
- Find the master link to remove the chain
- Decide how many links should be removed
- Use the chain tool to remove the links
- Place the chain and Reconnect the chain after removing the links
- Lubricate the chain with a good quality lubricant
- Check whether it is working fine by riding the bicycle
Some Important Tips
While shortening the chain, you should follow these tips:
- Always apply a good quality lubricant to make your chain work more smoothly and give more lifespan to your chain.
- Your chain might seem flawless, but after cleaning it, you will see the actual condition of the chain. So, cleaning is more important. This will tell you if the chain needs any more repairing rather than shortening the chain or not. Sometimes, the chain gets totally damaged, but if you don’t check them by cleaning, you might not notice it. Hence it will create a huge problem for you.
- If you are an everyday rider, then it’s good to have a good chain tool, as you have to work with your chain more often. You can finish your work fast and efficiently with the help of a chain tool.
- Although your bicycle may seem flawless, it’s safe to check your bike and its chain more often to avoid any kind of problem whenever you are out with your bike.
- If you are not comfortable shortening your chain on your own, then you should go to the nearest bike shop to shorten the chain. This will cost you a bit more, but if it’s okay with you, then you should go for it rather than doing it on your own.
Related reading: How Often Should I Lube My Bike Chain?
Frequently Asked Questions
Can I shorten a bike chain without a chain tool?
While a chain tool is the best and safest method for shortening a bicycle chain, I’ve seen some riders use alternative methods in a pinch. For instance, using a hammer and nail can push out the pins, but I strongly advise against it. Improvised methods can damage the chain and potentially your bike. For safety and efficiency, investing in a chain tool is your best bet.
What should I do with the leftover chain links after shortening?
After adjusting your bike chain, you’ll end up with spare links. I usually keep these as they can come in handy for repairs or replacements in the future. It’s good to have a few extra links around, especially if you encounter an unexpected chain break or need to make further adjustments down the line.
Conclusion
Wrapping up our discussion on shortening the bike chain, I can’t stress enough how this skill has transformed my cycling experience. The process, while intricate, is immensely rewarding. I’ve found that a well-adjusted chain not only improves the ride but also deepens my connection with my bicycle. Every time I make these adjustments, I’m reminded of the precision and care that cycling demands and rewards.
Through my own trials, I’ve learned that the key to a successful chain shortening lies in attention to detail and understanding your specific needs. It’s a task that might seem daunting at first, but with the right tools and a bit of patience, it becomes a gratifying part of bicycle maintenance. Remember, it’s about creating a harmonious relationship between the chain length and your bike’s overall performance.
As you embark on this journey of shortening your bicycle chain, embrace the process and the learning curve that comes with it. Don’t hesitate to seek advice or professional help if needed. In the end, the satisfaction of a smoothly running bicycle, fine-tuned by your own hands, is well worth the effort. Here’s to more empowering and enjoyable rides with your expertly adjusted bike chain!
Related Articles:

There are several steps to shortening a bicycle chain without a chain tool: To shorten the link position the chain on the socket and hammer it. Remove the links one after the other until you reach the desired chain length, take a screwdriver to push the links together, put the entire chain back on the bike. Make sure that the chain is not too tight to avoid discomfort while riding, and oil and lubricate the chain to increase the smoothness and operation of the chain. The number of links you will remove should be enough to keep your bike chain tight while keeping a smooth and easy ride.
Thank you Dalton for sharing your experience!