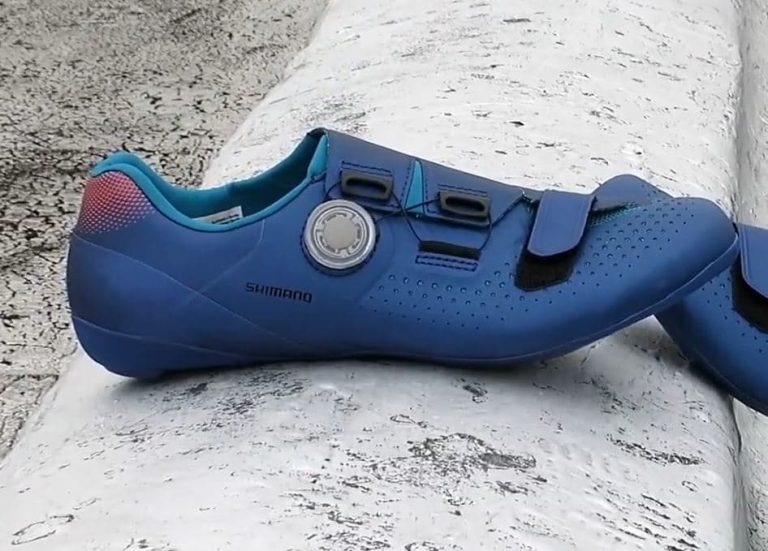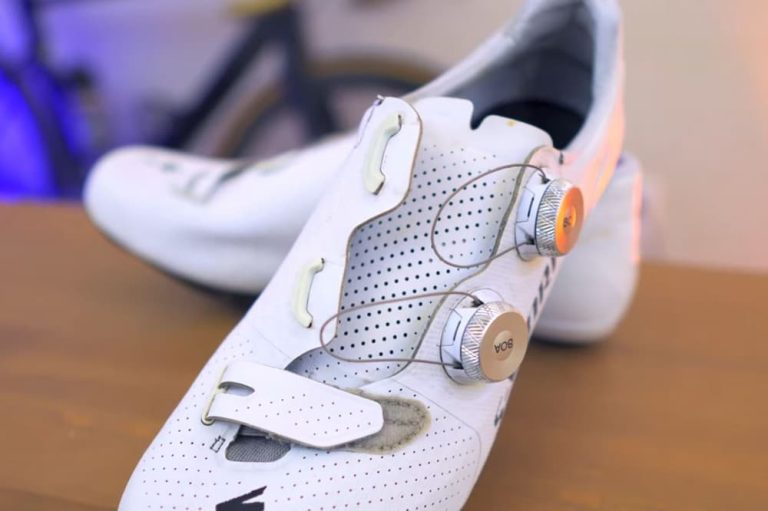
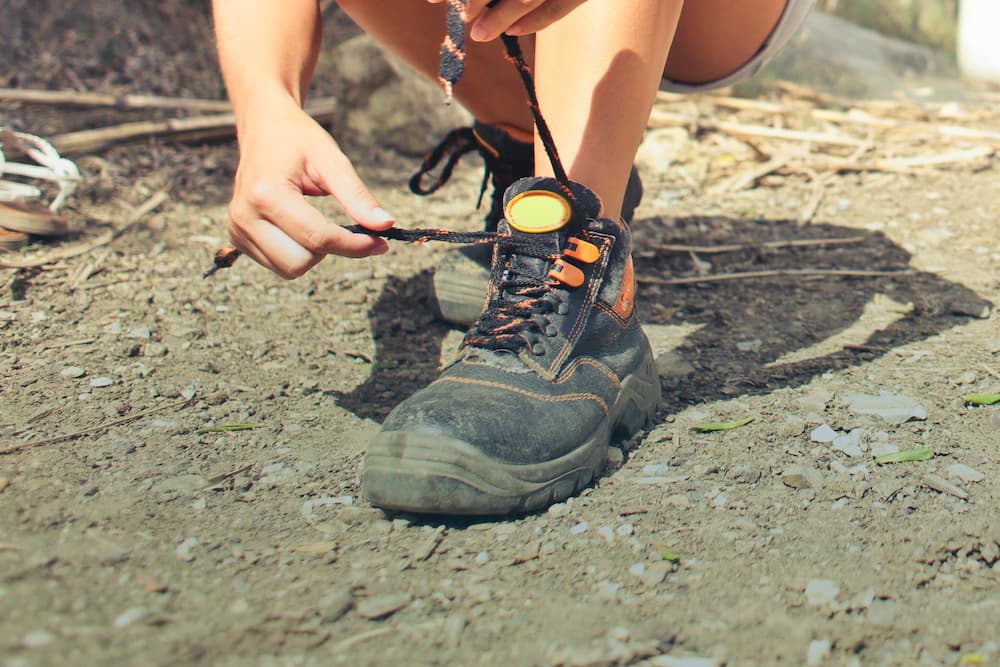
How To Lace Cycling Shoes?
Cycling is a passion for many, but it’s not without its challenges. One such challenge that often goes overlooked is the art of lacing cycling shoes. It might seem like a minor detail, but any seasoned cyclist will tell you that the way you lace your shoes can significantly impact your comfort and performance on the bike.
If you’ve ever found yourself frustrated with loose laces or uncomfortable shoes during a ride, you’re not alone. It’s a common issue that many cyclists grapple with. But don’t worry, you’ve come to the right place to find a solution.
This article is a comprehensive guide on how to lace cycling shoes. We’ll explore various lacing techniques tailored to different foot types, discuss how to prevent heel slippage, and even delve into some common and convenient lacing methods suitable for all shoe types.
By the end of this article, you’ll be well-equipped to lace your cycling shoes like a pro, enhancing your comfort and performance on the bike. So, let’s dive in and unravel the art of lacing cycling shoes.
Contents
Why You Should Know How to Lace Cycling Shoes?
You may be wondering if knowing how to lace cycling shoes is a minor detail. However, it is not!
Lacing your cycling shoes properly can prevent you from accidents, stepping on your laces, help you cycle comfortably, and even protect your feet from ankle sprains or joint misplacements while cycling.
In this article, we will discuss how to lace cycling shoes properly and most efficiently.
Lacing Techniques
Before running off with your cycle, we barely take a minute to sit down and tie our laces properly. Several scientific research and investigation was carried out that has stated that lacing techniques are crucial and have a high impact on cycling.
Not only that, but it also determines your ability to cycle with freedom or with constraint. Lacing techniques depend on three features, your lace’s material, the number of holes your cycling shoe has, and the pattern of your knot with which you tie you’re cycling laces.
To know how to lace up cycling shoes, you should first determine your foot type, whether your foot is narrow or wide.
Related reading: How To Keep Shoelaces Out Of Bike Chain?
If Your Forefoot is Wide
If you have a wide forefoot, there is a special shoe lacing technique. This technique allows your feet to expand while cycling and tightening your shoelaces will not compress your shoe’s fitting.
- First of all, your need to start from the bottom and lace through your shoe’s first eyelets.
- Next, cross your laces and pull them down through the next eyelets.
- Prevent crossing your laces over, and on the same side lace up through your shoe’s third eyelet set.
- Now you need to crossover and pull your laces down through the next set of eyelets.
- Now, don’t cross again, instead, pull them up from the fifth set.
- Now cross your laces up through your sixth eyelet set.
If Your Forefoot is Narrow
If your foot is narrow, the easiest technique on how to lace up cycling shoes is to draw two lanes of your shoe’s eyelets snugly. The ‘lace lock’ technique is the best way to lace cycling shoes for a narrow forefoot.
- You need to form a bunny ear with your lace on the same side, by gently pulling the laces down.
- Do this for the next eyelet lane on your same shoe as well
- Next, you need to lace through taking the laces from both the eyelet lanes
- You need to continue lacking though diagonally and you will get a ‘lace lock’
Many of you may find the lace lock lacing technique a bit too firm on your forefoot, but do not rush, walk around in your cycling shoes in a ‘lace lock’ lace pattern and soon you will see the shoes have opened up and are a complementary fit to your narrow forefoot.
Heel Slippage
If you want to know how to lace up cycling shoes to prevent heel slippage, you better follow the ‘lace lock’ lacing technique too. Lace look technique is very handy and prevents your toenails from turning black while cycling every day. It will also prevent your toes from banging against your cycling shoe’s toe box and keep your toes safe from bruises.
Common and Convenient Lacing Techniques for All Shoe Types
There are many simple techniques to lace cycling shoes. You may be familiar with a few of them.
For those of you who are not, here are 5 simple and convenient techniques for lacing your shoes.
Ends Do Not Meet
Just like its name, the end of your laces from both your eyelet lanes should not meet. Both the laces from your shoe should be tied at one side of the shoe. This technique is different from the actual concept of lacing. However, it has been seen to be used by my cyclists for its comfortability.
Across and Back
In Across and Back technique, take the second lace from the bottom section and run it straight from left then to the right from the inside. Then, again from right to the left from the outer side. Then, finally tuck them both together on the left side of the shoe.
Related reading: Cycling Shoe Guide – Differences Between Bike Shoes Explained
Twice Through One Eyelet
It involves taking the ends of your laces through the two bottom eyelets. Next, you need to run them from the back end across the bottom of your eyelets and take it through the same eyelet again. You will see your laces emerging from the same eyelet twice.
One Diagonal
Here you need to take one diagonal only. You need to lace through your eyelets straight, then you can cross laces from both eyelets and run then from the middle in a looplike manner.
One Crossover
Instead of trying to lace diagonally, this one crossover technique helps to shape your shoes to look like an ancient roman lacing pattern. Only keeping one crossover allows your shoes to be more flexible and free while cycling.
Bottom Line
In the realm of cycling, the small details often make the biggest difference. This article has illuminated one such detail – the art of lacing cycling shoes. It’s a skill that might seem trivial at first glance, but as we’ve discovered, it’s a game-changer in the world of cycling.
We’ve explored the importance of lacing techniques, which can significantly impact your cycling experience. Whether your forefoot is wide or narrow, we’ve covered lacing methods tailored to your needs, ensuring optimal comfort and safety.
We’ve also delved into the issue of heel slippage and how the ‘lace lock’ technique can prevent this common problem. This technique not only keeps your feet secure but also protects your toenails from turning black – a common issue among cyclists.
Furthermore, we’ve discussed several common and convenient lacing techniques suitable for all shoe types. From the ‘Ends Do Not Meet’ to the ‘One Crossover’ technique, we’ve provided a variety of methods to suit your personal preferences and needs.
My grandpa used to say that knowing how to lace cycling shoes is not a minor detail but a crucial skill that can enhance your cycling experience. It’s about more than just tying a knot; it’s about ensuring comfort, preventing accidents, and optimizing your performance. So, the next time you lace up your cycling shoes, remember the techniques you’ve learned here.
Related Articles