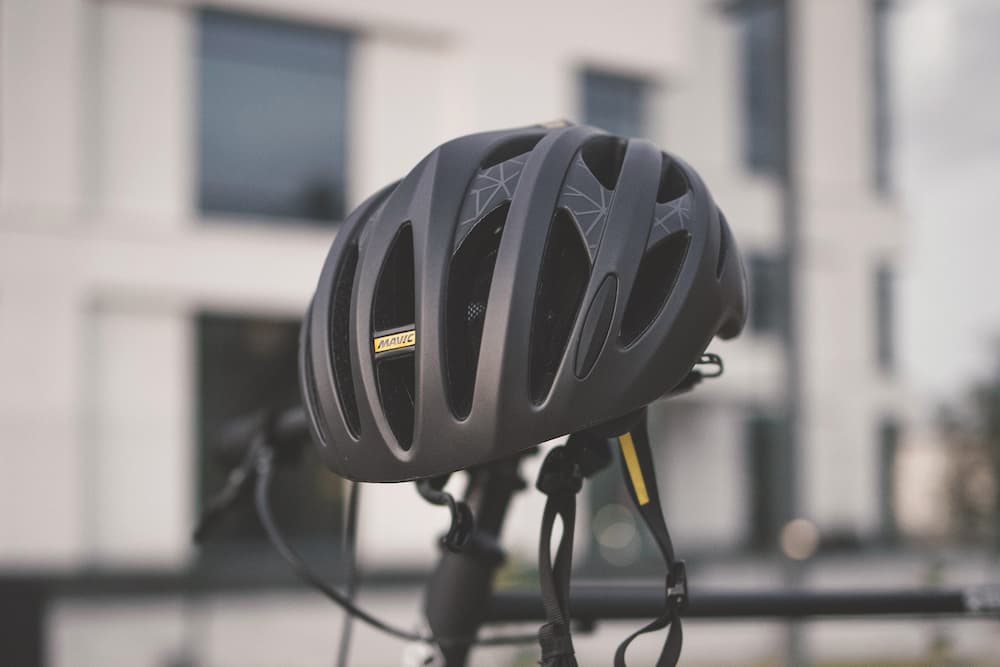
How To Clean A Bike Helmet?
I know the pride that comes with a well-maintained bike, but often, the helmet, a vital safety gear, gets overlooked. Have you ever felt the discomfort of a helmet that’s lost its freshness or noticed how dirt and sweat can accumulate, affecting hygiene and comfort? It’s a common issue many of us face, yet it’s frequently ignored.
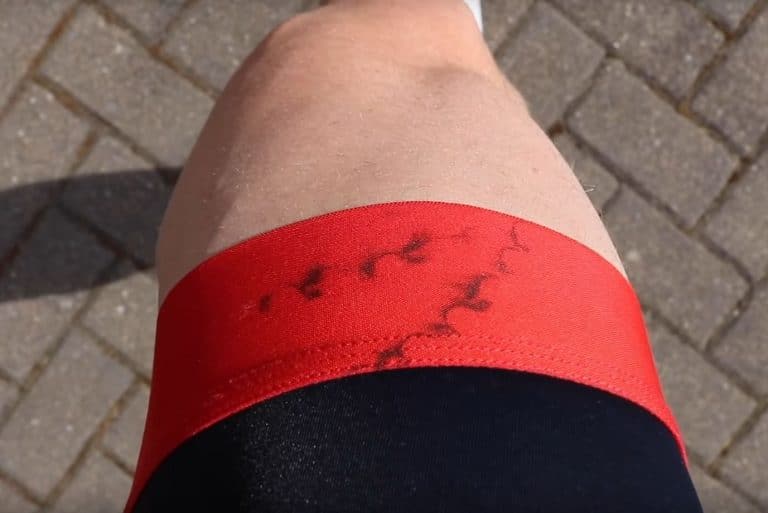
Neglecting to clean your helmet leads to unpleasant rides and can shorten the lifespan of this crucial protective gear. Imagine setting out for a ride and being constantly distracted by the discomfort of a grimy, smelly helmet. Discomfort is not just caused by the dirt you can see, but also by the bacteria you can’t see, which can lead to skin irritations or a less effective helmet over time.
In this article, I’ve laid out a straightforward, practical guide on how to clean a bike helmet. From tackling the outer shell to the inner pads and straps, I’ll show you step-by-step how to maintain your helmet so it stays as fresh and functional as the day you bought it. Let’s dive into these simple yet essential tips to keep your helmet in top condition, ensuring every ride is as enjoyable and safe as possible.
As an Amazon Associate, I earn from qualifying purchases made through links in this post at no extra cost to you.
Contents
- Step-by-Step Guide to Cleaning Your Bike Helmet
- Practical Techniques for Cleaning the Helmet’s Shell
- Detailed Instructions for Cleaning Helmet Pads
- Proper Care and Cleaning of Helmet Straps
- Quick Cleaning Method for Bike Helmets (Less Comprehensive)
- Common Mistakes to Avoid While Cleaning Your Helmet
- Is It Safe to Clean a Bike Helmet in the Dishwasher?
- The Risks of Washing Bike Helmets in Washing Machines
- Effective Methods to Eliminate Fungus from Your Helmet
- How Often Should You Clean Your Cycling Helmet?
- Can I Use Household Cleaning Products to Clean My Bike Helmet?
- How Often Should I Clean My Helmet’s Straps and Pads?
- Is It Safe to Dry a Bike Helmet with a Hair Dryer or in Direct Sunlight?
- Conclusion
Step-by-Step Guide to Cleaning Your Bike Helmet
Cleaning a bike helmet, whether used in winter or summer, often feels tedious. The truth is that it can be difficult if you don’t follow the proper methods. That’s why, in this section, we’ll explain how to wash your bike helmet properly.
To do this, you first must remove some parts of the helmet. This way, it’ll be cleaned thoroughly and will also dry faster.
We’ll now explain how to clean the individual parts of the helmet properly:
- helmet shell
- helmet pads
- helmet strap
Practical Techniques for Cleaning the Helmet’s Shell
This is the easiest part of the helmet to clean. Here, you’ll learn how to clean the shell of a bicycle helmet thoroughly:
Step 1: Preparation
The first thing you need to do is remove any external accessories that you use with the helmet. By this, we mean lights, camera mounts, or headsets.
You’ll also need a few things to ensure a thorough cleaning. Baby shampoo and car wax are essential for washing bike helmets.
Regarding baby shampoo, I recommend the classic Johnson’s Baby Shampoo. You can never go wrong with this product. The 800 ml bottle will last you more than a year.
To apply the wax coating, you can use Turtle Wax T-374KTR.
Step 2: Washing
Rinse the helmet and apply Johnson’s Baby Shampoo when appropriate. Lather up the helmet so you can properly remove dirt. Look for dirt in the vents.
You can usually clean the helmet shell with a brush. If that doesn’t work, you can blow it out with an air compressor.
Step 3: Finishing
If washing the helmet isn’t enough, you must give it the final touch. In this case, you use the wax to apply a protective layer on the shell. This will also make washing easier and more effective in the future.
If the helmet is shiny, you can apply some detailing spray to maintain and enhance the shine.
Related reading: What To Wear Under Bike Helmet?
Detailed Instructions for Cleaning Helmet Pads
Regular and thorough cleaning is important as bike helmet pads tend to accumulate sweat with each use. Here’s a simple way to clean them properly.
Step 1: Preparation
First, soak the pads in a soapy water solution. You can also use the shampoo we mentioned earlier. If your bike has cheek pads, you can wash them with the helmet pads. So prepare the solution and soak the pads in it for some time. This will help dissolve the salt and dirt the pads have absorbed.
We recommend an antimicrobial detergent for the solution. You’re on the safe side with a regular bottle of Lysol Laundry Sanitizer. These disinfectants help eradicate bacteria and fungi and prevent future buildup. It also gets rid of any odor.
Step 2: Washing
These pads are remarkably delicate and can be permanently damaged by rough washing. That’s why you need to squeeze them gently. Gently squeezing helps to maintain the size and shape of the pad.
After massaging the pads gently but thoroughly for a few minutes, rinse them with soap. Be careful not to leave any residue, which can damage the pads over time.
Step 3: Drying
This is relatively easy. Just hang the pads in a room under a fan. Make sure the pads aren’t in the sun or heat. And don’t try an air dryer, as it can shrink the size of the pads.
Proper Care and Cleaning of Helmet Straps
Last but not least, you need to clean the straps of your helmet. Here’s an overview of the whole process so you can do it step by step.
Step 1: Remove the Straps
Start by removing the straps. Following this guide, you were supposed to remove the straps at the beginning. Now would be a good time if you haven’t done so yet.
Step 2: Brush Off the Dust and Salt
There may be a lot of dust and salt stuck to the straps. The sweat residue on the straps forms salt deposits. Therefore, brushing off the straps with a regular toothbrush is best. And if you don’t brush them off, the salt will get soaked deeper in the material when the straps are submerged in water.
Step 3: Clean them with soap and water
Start by cleaning the straps with warm water. After some time, you can soap them with mild soap or shampoo. Then, brush them gently to remove dirt from the straps.
If there are places you can’t reach with a toothbrush, such as the areas under the buckles, you can clean them thoroughly with a cotton swab.
When satisfied with the cleaning, rinse the straps with water to remove the soap thoroughly.
Step 4: Finishing Up
You don’t want your helmet straps damp when riding your bike. That’s why we recommend drying them properly. Just like with the pads, you shouldn’t dry them with heat. Keep them in a well-ventilated place. They should be dry within 5-6 hours.
Once completely dry, attach them to your helmet and be ready for the next ride.
Quick Cleaning Method for Bike Helmets (Less Comprehensive)
We recognize that the detailed cleaning process might be overwhelming for some, as not everyone can dedicate an hour daily to helmet maintenance. That’s why we recommend performing the abovementioned process only once a week.
However, this isn’t the right way for you if you want to keep your bike helmet clean every time you ride. In this case, you take a shower with your helmet.
This procedure works like a charm. You can also use regular soap and shampoo without any problem, as they’re usually gentle enough for the helmet.
Please note that this isn’t a deep cleaning of the helmet or the thorough treatment mentioned above. However, for regular use, the cleaning is sufficient. And if you clean it regularly, you’ll prevent dust and sweat from building up.
Common Mistakes to Avoid While Cleaning Your Helmet
There are strict guidelines for cleaning a bike helmet because there are a lot of things that can damage it.
Here are some things you shouldn’t do when cleaning your bike helmet:
- First, never use harsh solvents or cleaners. These can dissolve the paint, stickers, and gum on your helmet. Over time, harsh chemicals will render your helmet useless because it’ll weaken it from the inside out.
- Secondly, you shouldn’t put the helmet in the dishwasher, microwave, dryer, or washing machine. This can have serious consequences, such as fire hazards or even explosions.
- Stop cleaning it immediately if you suspect a lice infestation in the helmet. Just leave the helmet in an airtight plastic bag for two weeks. The lice will die off during this time, and you can clean and use it without any problems.
Is It Safe to Clean a Bike Helmet in the Dishwasher?
No, you can’t wash bike helmets in the dishwasher. A single wash won’t damage the helmet enough for you to notice. Additional washes will.
One of the main reasons for this is that bike helmets don’t react well to dishwasher heating coils. In the first wash, you may not notice a difference. After a few more washes, you’ll see the labels disappear. Gradually the foam of the inner helmet pads will dissolve, and the adhesives and tapes will start to come off.
With more washes, the surface materials and colors will degrade. Eventually, the buckles and stabilizers will oxidize and become covered in a white film.
So, if the helmet remains in direct contact with the heating coil, it may even catch fire. The helmet isn’t particularly flammable, but a fire in the dishwasher can have serious consequences. Therefore, we strongly advise against washing bicycle helmets in dishwashers.
The Risks of Washing Bike Helmets in Washing Machines
No, you can’t wash the bike helmet in the washing machine because that would damage both. A washing machine works mainly by moving the laundry in a circular pattern. Centrifugal force causes the items to bump against the washing machine drum walls.
When a helmet is placed in the machine, it can dent the walls of the washing machine drum and the helmet itself. We therefore advise against washing a bicycle helmet in the washing machine.
Effective Methods to Eliminate Fungus from Your Helmet
If you notice mold in your bike helmet, you can be sure that the main reason is dirty helmet pads. These pads regularly come into contact with your sweat and dust from the environment. Once they accumulate, they lead to bacterial development, slowly leading to fungal growth.
Fortunately, the problem is relatively easy to solve. If you discover fungus on your bike helmet, remove the pads and clean them with disinfectants like Lysol. It would help if you soaked the pads in a water and disinfectant solution for some time to get better results. Also, lukewarm water works better against fungi than cold water.
So, prevention is better than cure. So, if you want to prevent fungus development in the first place, we recommend the following DIY method.
All you need is baking soda. Just take some baking soda and sprinkle it inside the helmet. We recommend soaking the helmet with baking soda for at least 24 hours. But you can also do it for 12 hours.
After that, brush the baking soda out of the helmet and clean it with a dry cloth. You can also use a vacuum cleaner for a thorough cleaning. This way, you can effectively reduce the risk of fungus reappearance.
How Often Should You Clean Your Cycling Helmet?
To maintain the quality of the helmet and your cycling experience, we recommend washing your bike helmet at least once a month.
Many cyclists don’t wash their helmets at all. However, this is the wrong practice, and we don’t recommend it. Cleaning your bike helmet has several benefits, all of which are very beneficial.
However, it’s understandable if you find cleaning tedious and don’t want to do it weekly or monthly. In this case, we recommend you shower after riding with your helmet on.
You don’t have to do this every time, but by washing your helmet after every two or three rides, your helmet will remain in pristine condition. It’ll also prevent the development of fungi and bacteria.
Can I Use Household Cleaning Products to Clean My Bike Helmet?
While using general household cleaners for convenience might be tempting, I advise against it. Many household cleaning products contain chemicals that can degrade the helmet’s material. Instead, opt for the abovementioned products or a cleaner designed for helmet care. This ensures that the helmet’s integrity isn’t compromised while still getting it clean and fresh.
How Often Should I Clean My Helmet’s Straps and Pads?
I recommend cleaning the straps and pads of your helmet at least once a month or more frequently if you ride often or in dirty conditions. Sweat and dirt can accumulate quickly, leading to discomfort and potential hygiene issues. Regular cleaning maintains the helmet’s comfort and functionality, ensuring a pleasant riding experience.
Is It Safe to Dry a Bike Helmet with a Hair Dryer or in Direct Sunlight?
It’s best to avoid using a hair dryer or placing your helmet in direct sunlight to dry. High heat can damage the helmet’s structure, reducing its protective capabilities. Instead, let your helmet air dry in a shaded, well-ventilated area. This gentle drying method preserves the helmet’s integrity and ensures it’s ready for your next ride.
Related reading: How To Get Bike Grease Out Of Clothes?
Conclusion
Riding through the ups and downs of trails and roads, my helmet has always been my trusty guardian. Reflecting on the steps I’ve shared for cleaning a bike helmet, I am confident you feel more equipped to care for this crucial piece of equipment.
We started with the basics of cleaning the helmet’s shell, emphasizing the need for gentle cleaning agents and a soft cloth to avoid any damage. I then walked you through the process of cleaning the pads and straps, which are crucial for maintaining comfort and hygiene. Regular cleaning of these components not only extends the life of your helmet but also ensures your riding experience remains fresh and enjoyable.
We also discussed the importance of avoiding harsh chemicals and the common mistake of using a dishwasher, which can compromise the helmet’s integrity. And let’s not forget the quick cleaning tips for those times when a complete wash isn’t feasible, ensuring you’re never caught off guard with a grimy helmet.
When you gear up for your next ride, you know that a clean helmet is not just about appearance, but it also improves your safety and comfort and prolongs the life of your gear. Remember these tips, and you’ll be well on your way to many more enjoyable and safe rides.